Shop Settings & Configuration
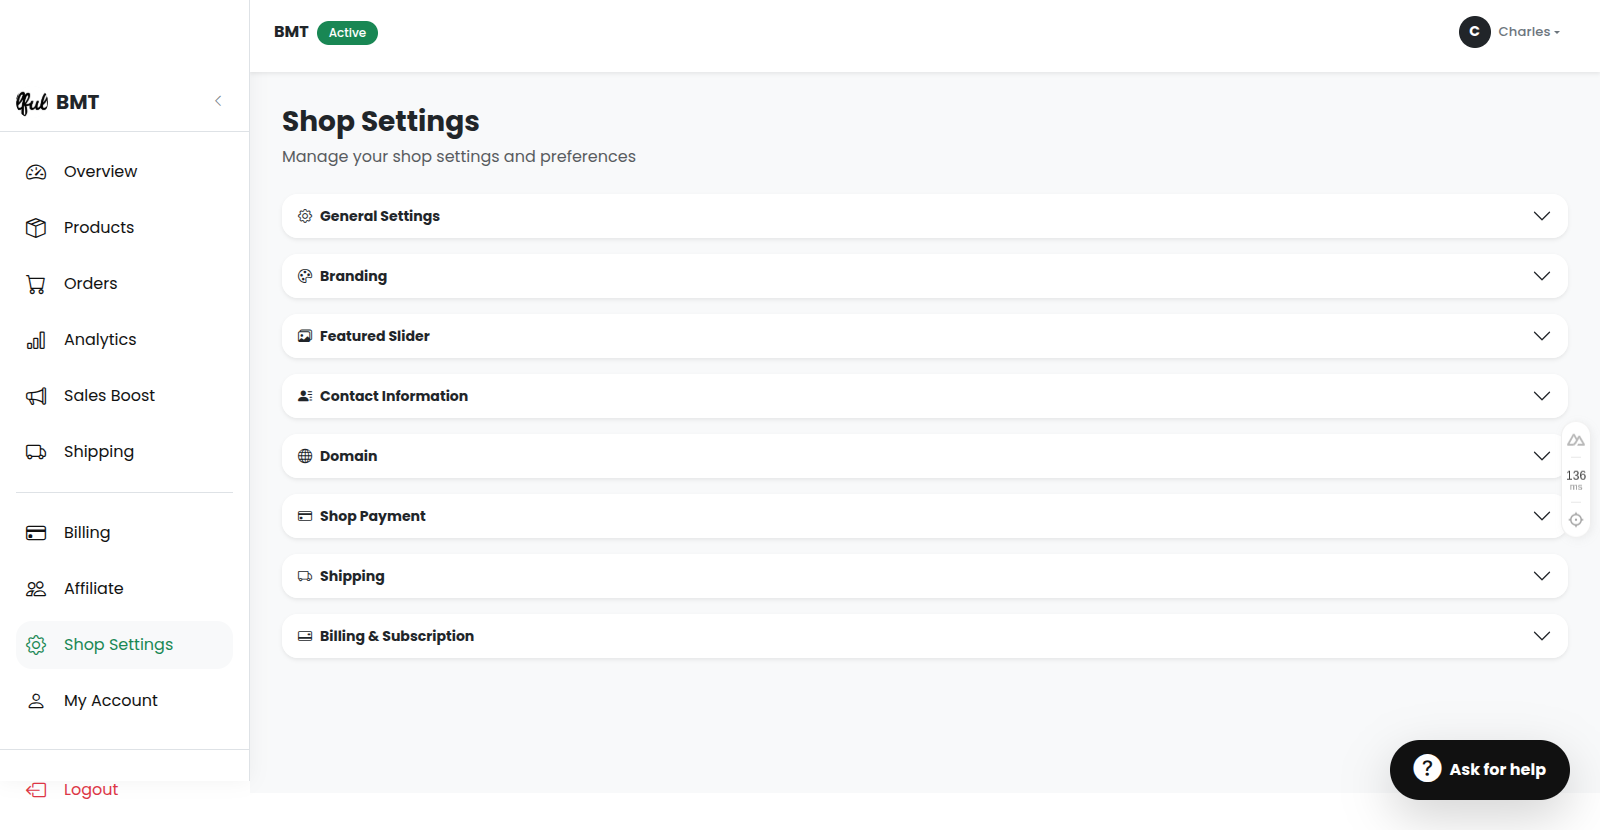
Your shop's settings control everything from how it looks to how customers pay. Open the menu (≡) and navigate to Shops > Settings to access the configuration sections. This guide will walk you through each step of fully configuring your store.
1. General Settings
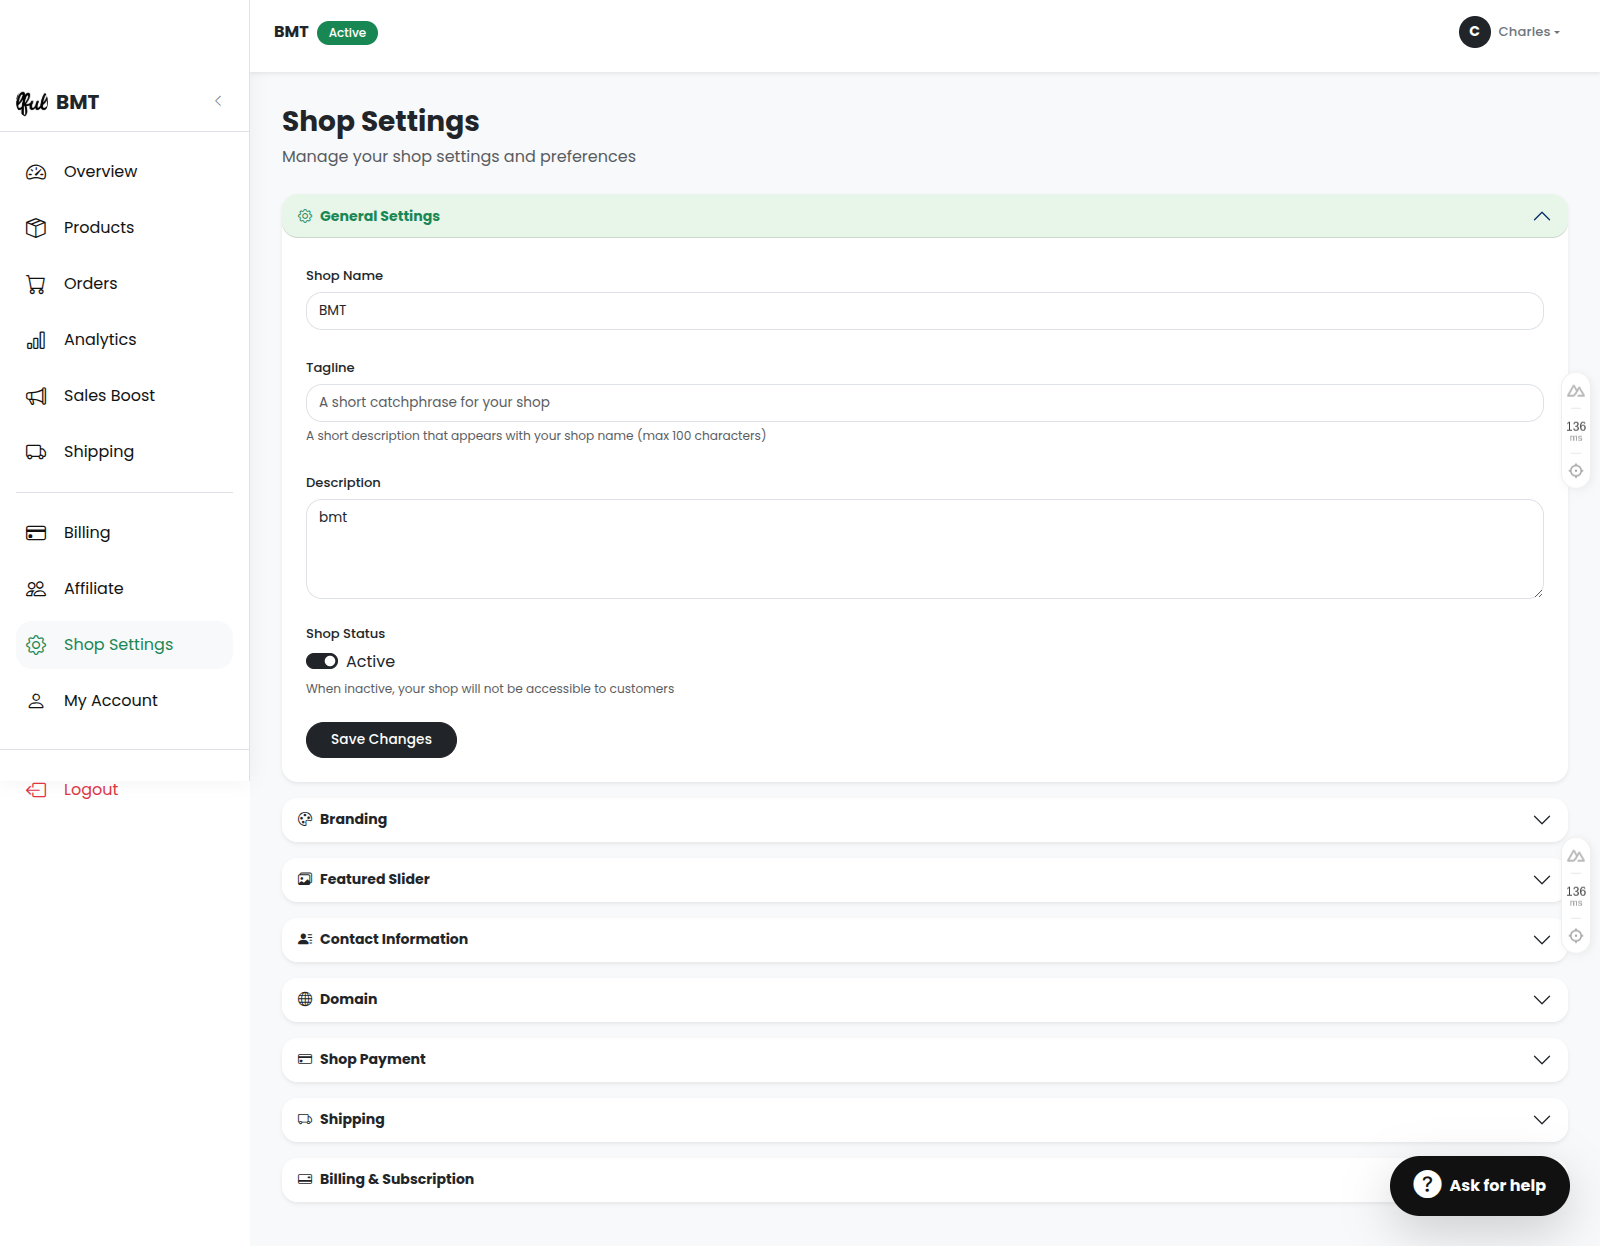
This is where you set the core identity of your store.
- Shop Name: Update your store's name. This appears at the top of your site and in customer emails.
- Tagline: Add a short, catchy phrase that describes your business (e.g., "Premium Fashion in Nairobi").
- Description: Provide a detailed explanation of your store. This is important for both customers and search engines (SEO).
- Shop Status: Easily toggle your shop "Active" or "Inactive". If you need to temporarily close your shop (e.g., for holidays), switch it to "Inactive" to hide it from the public.
2. Branding
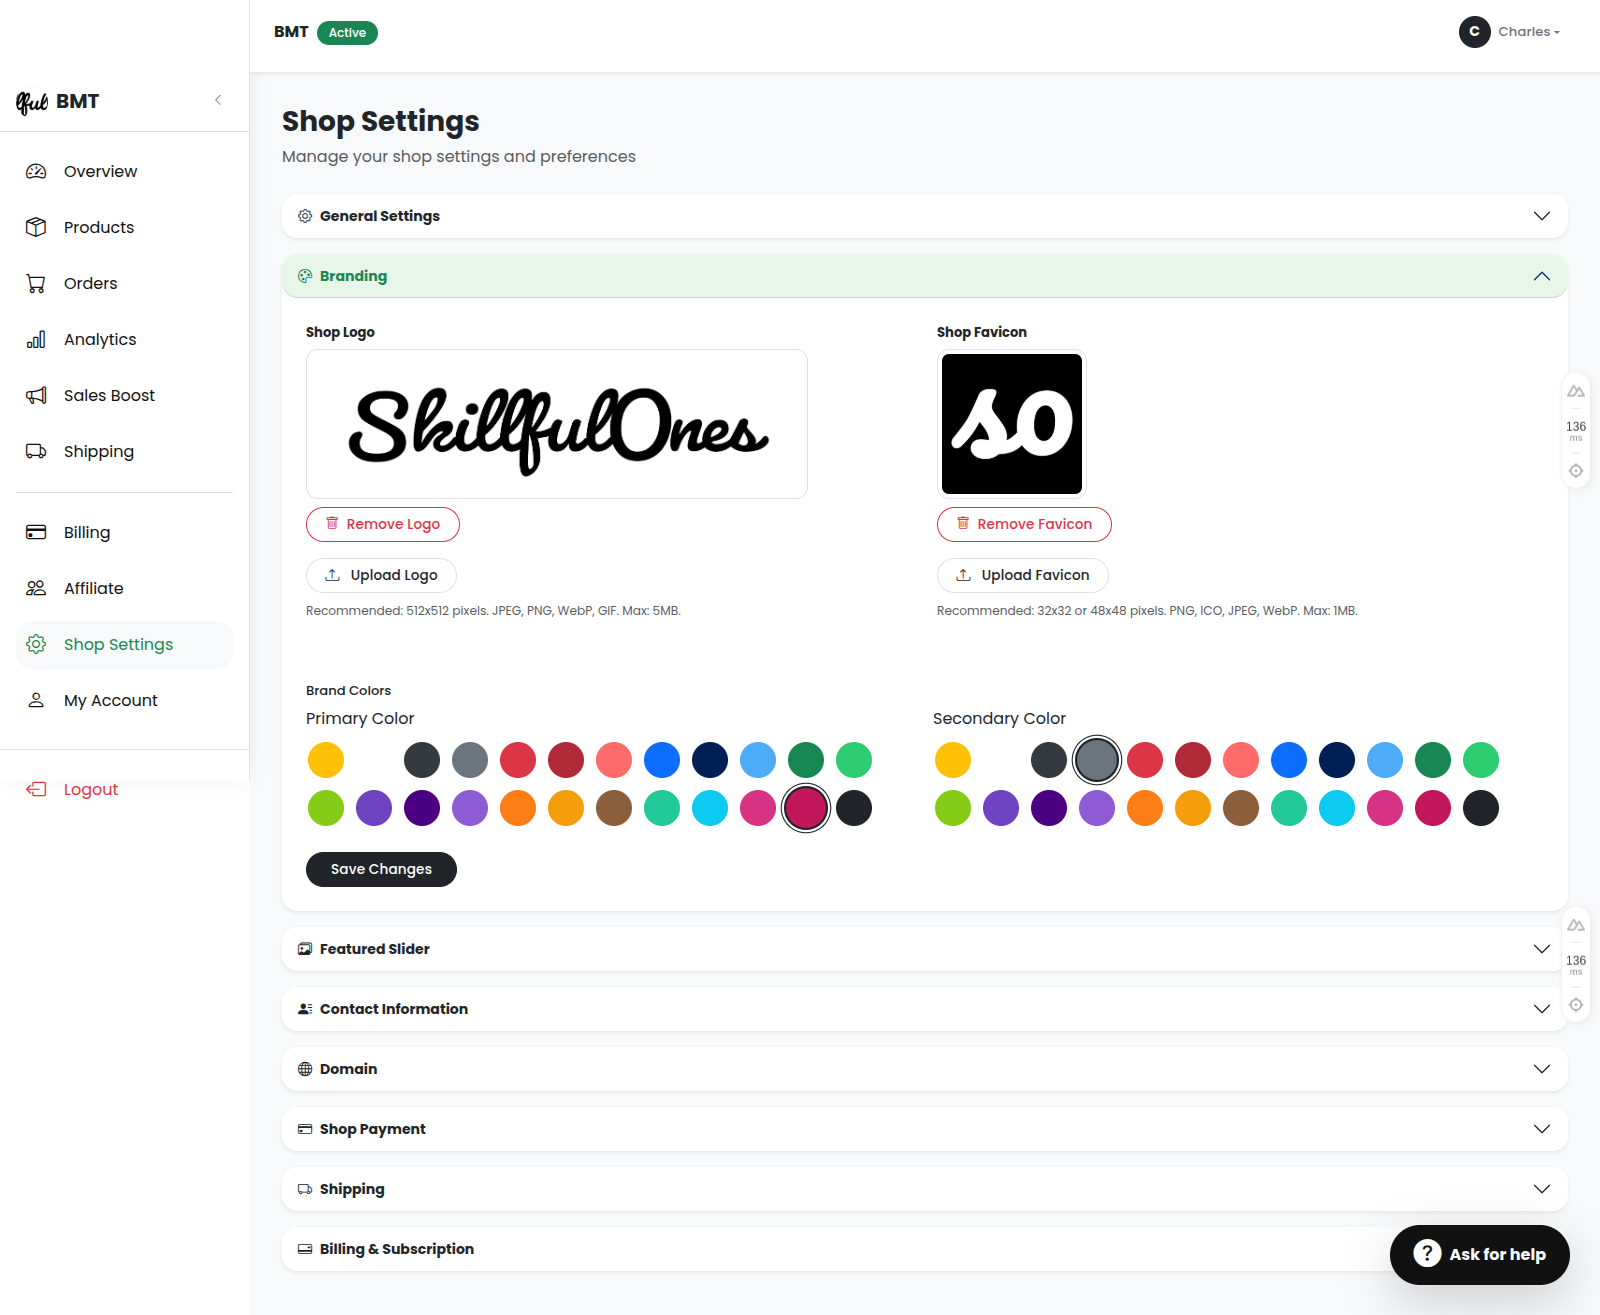
Make your store visually appealing and consistent with your brand.
- Shop Logo: Upload or change your store's logo. We recommend a square image (e.g., 512x512px) for the best fit.
- Brand Colors: Select a Primary and Secondary color. These colors will be used for buttons, links, and accents across your storefront.
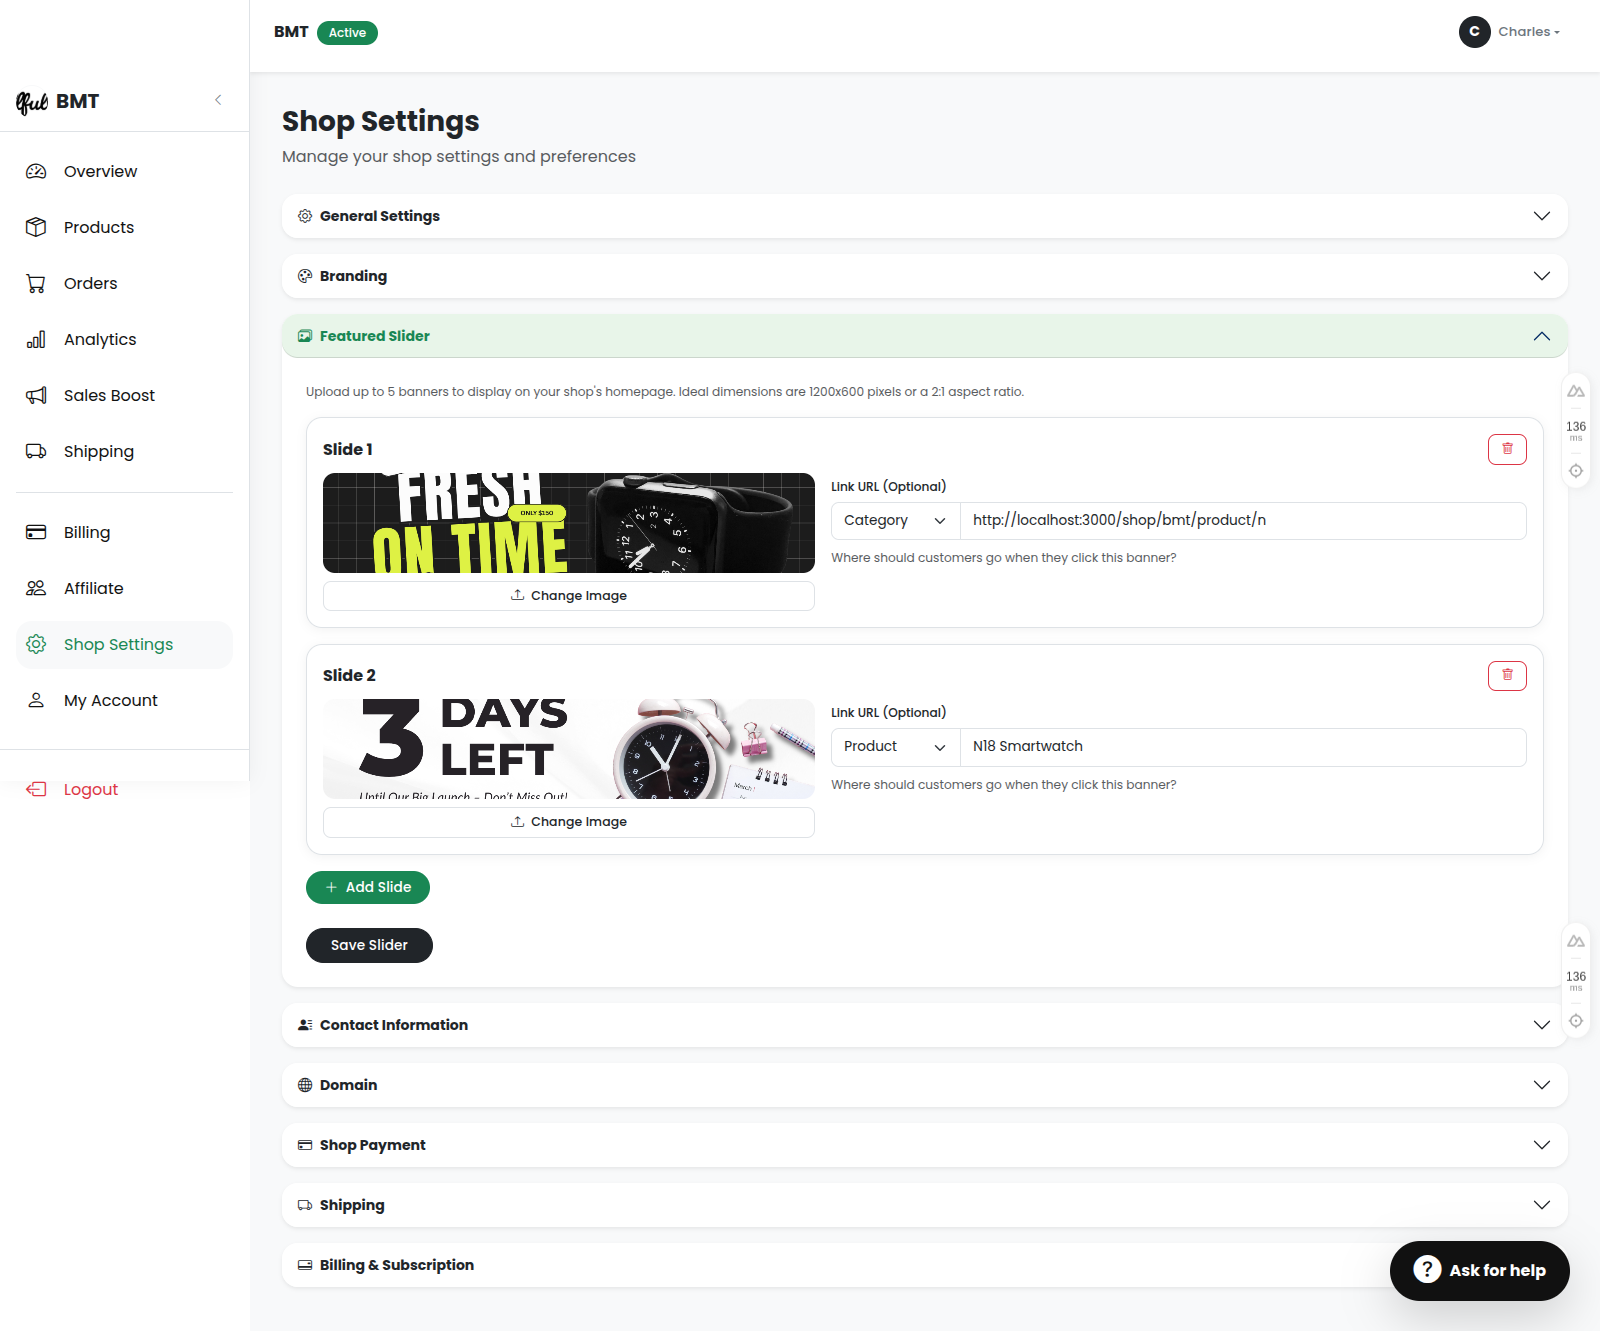
3. Featured Slider
Add up to 5 promotional banners to your shop's homepage to highlight sales, new arrivals, or special collections. The ideal dimensions are 1200x600px.
You can link each banner directly to:
- A specific Product
- A specific Category
- A Custom URL (like a link to your WhatsApp or an external site)
4. Contact Information
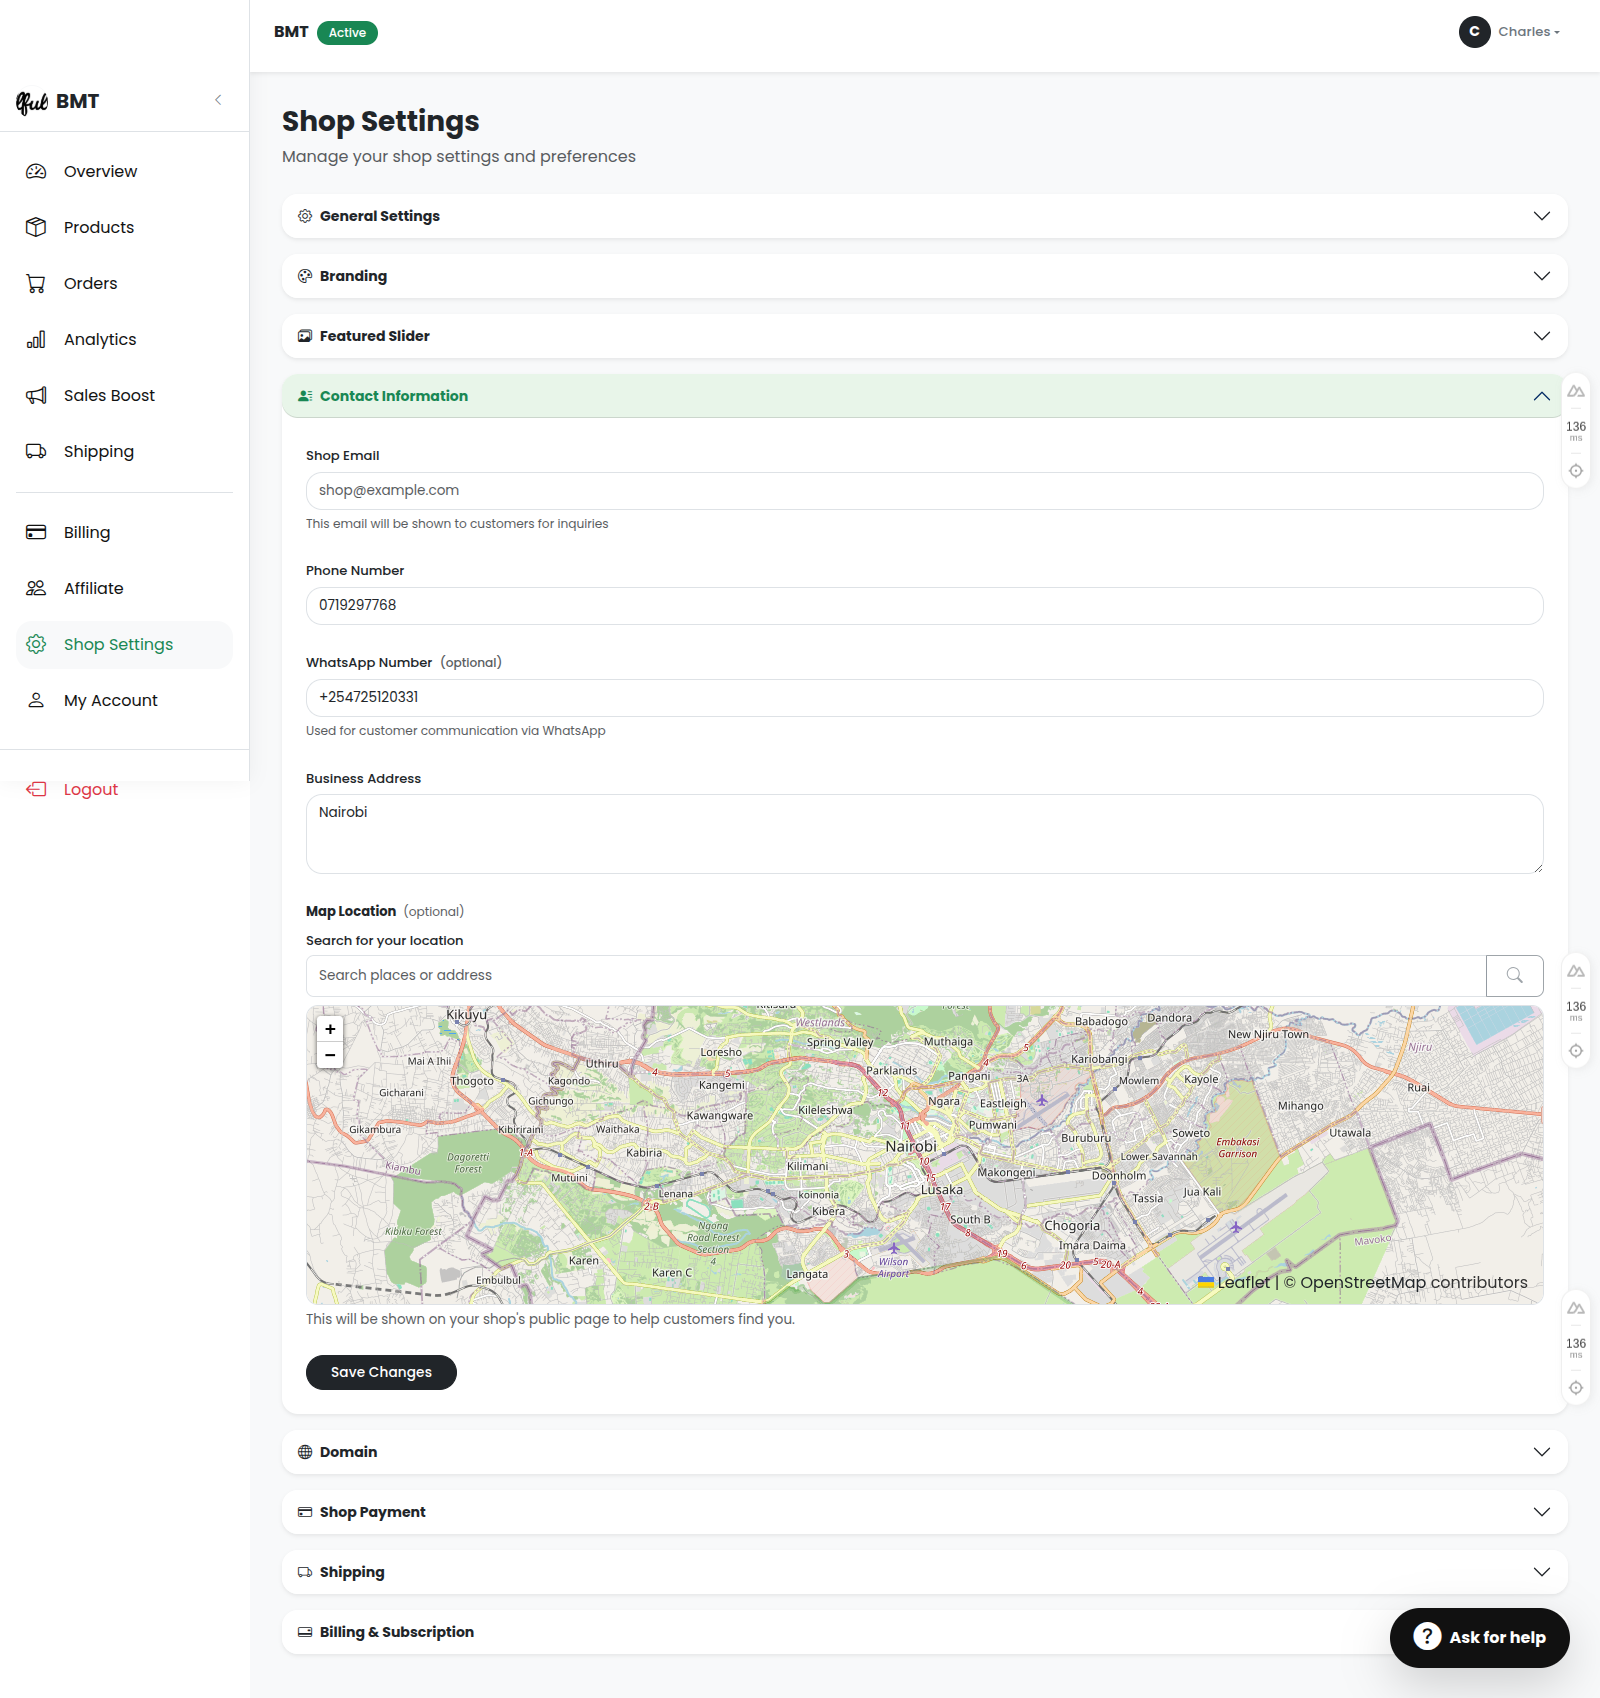
Make it easy for customers to reach you and build trust.
- Contact Information: Update your Shop Email, Phone number, and WhatsApp number.
- Business Address: Enter your physical address. You can also pin your exact location on an interactive map so customers can find you easily!
5. Domain Settings
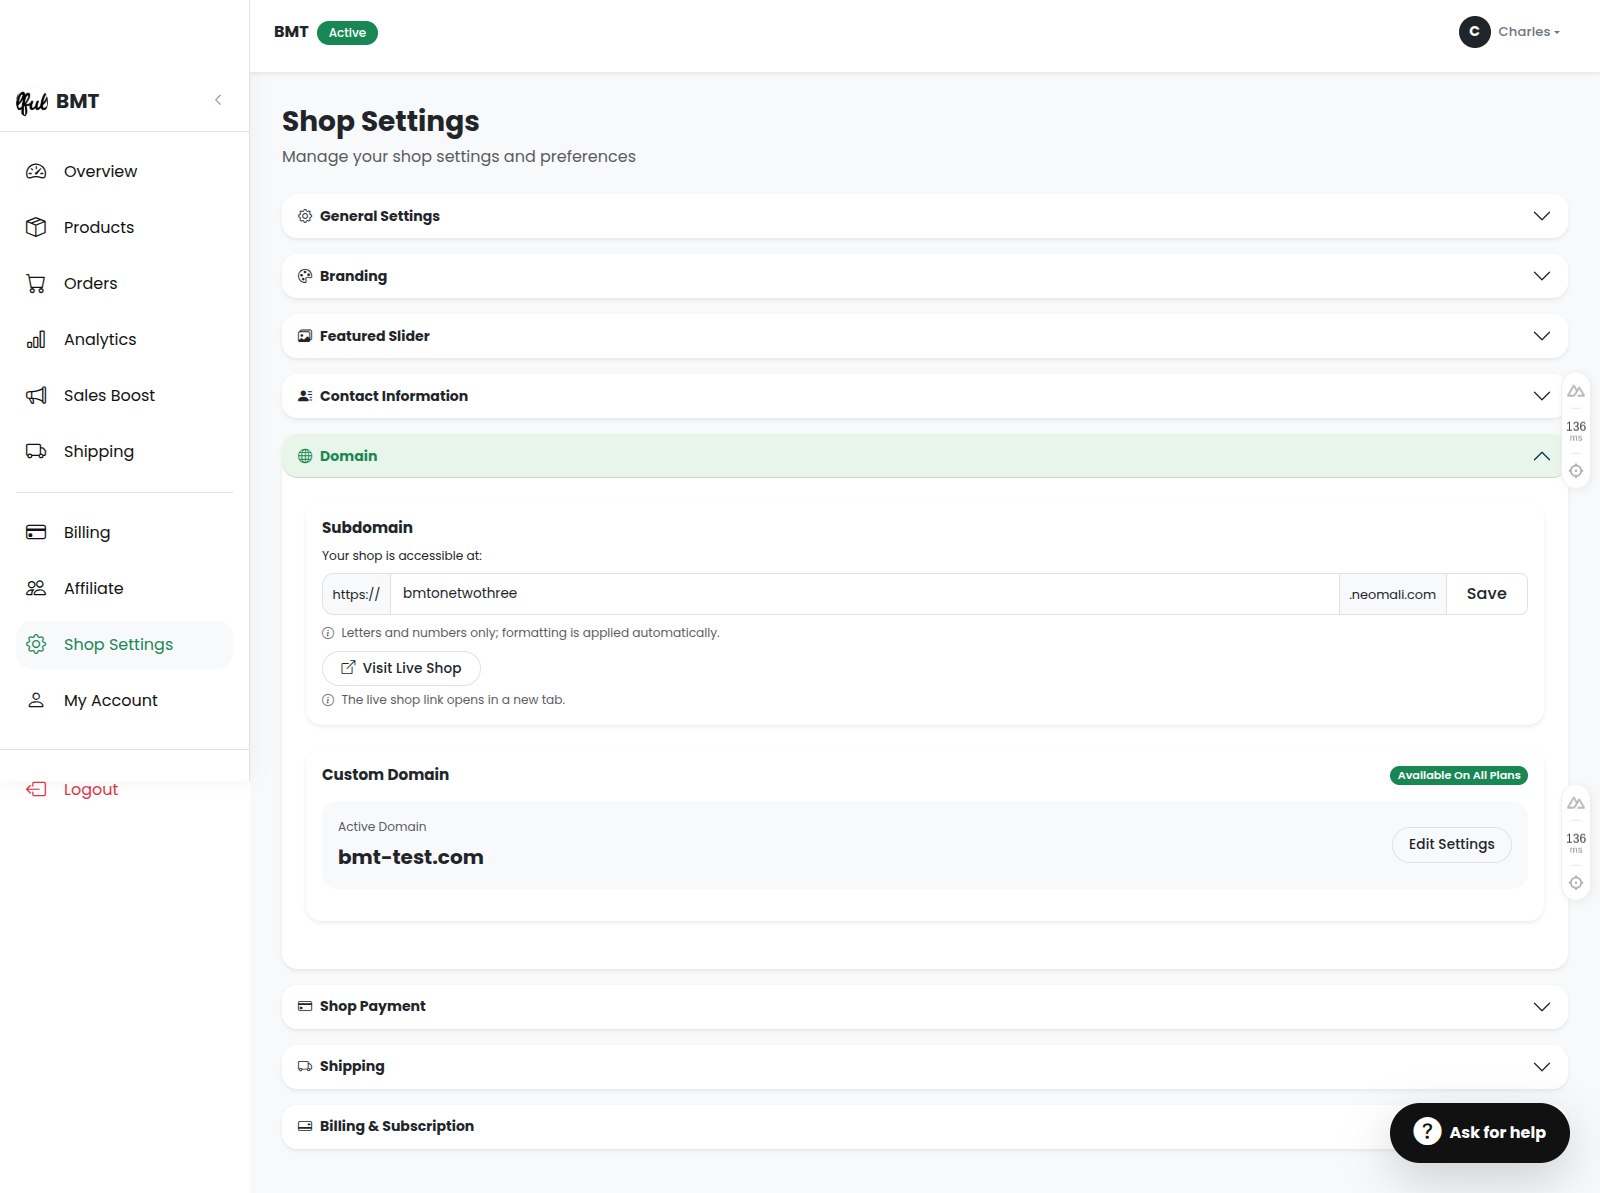
Control the web address where customers find your shop.
- Subdomain: Manage your free Neomali subdomain (e.g.,
your-shop.neomali.com). - Custom Domain: If you have a premium plan, you can connect your own Custom Domain (e.g.,
www.yourbrand.co.ke) for a more professional look.
6. Shop Payment
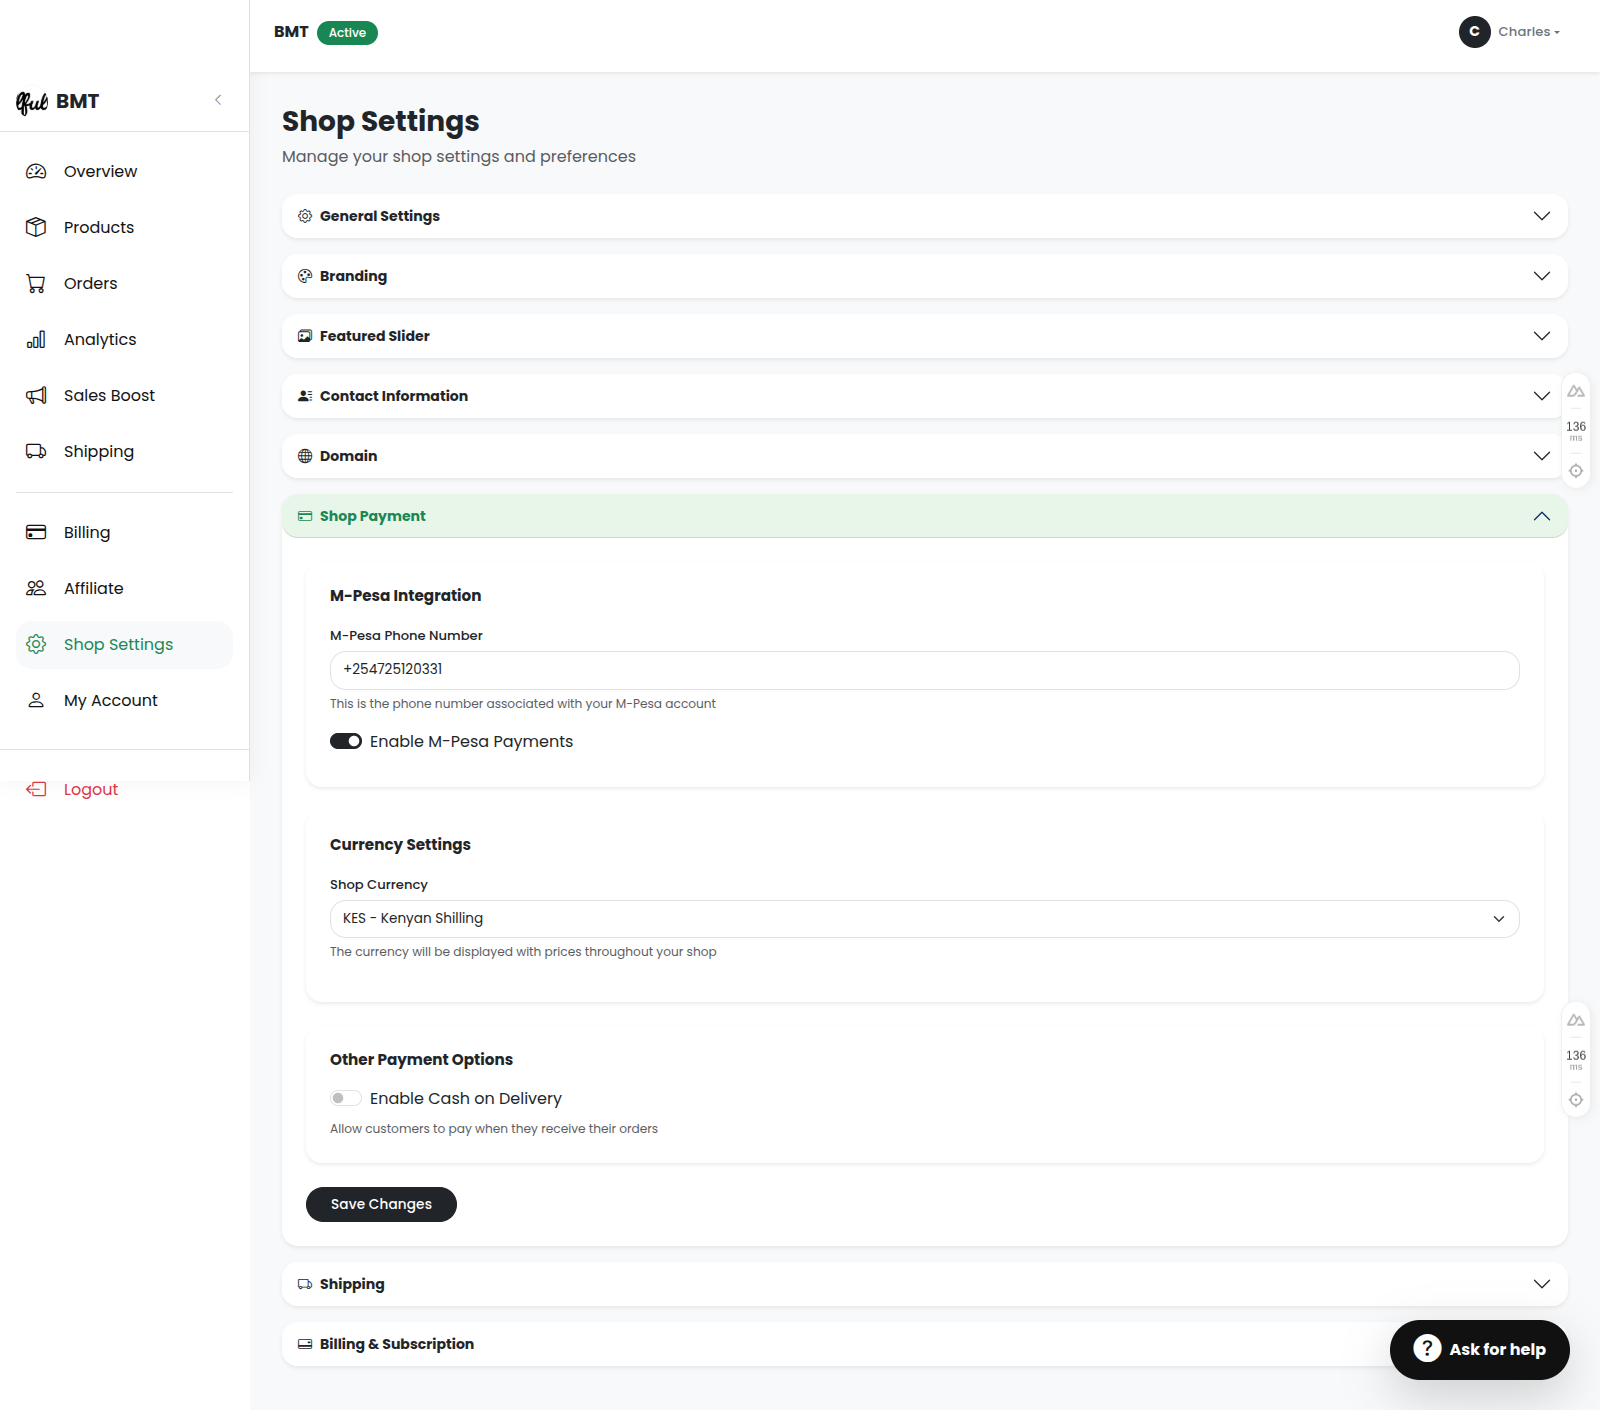
Determine how you collect money from your sales.
- M-Pesa Number: Configure the phone number that will receive funds directly when a customer pays via M-Pesa.
- Cash on Delivery (COD): Toggle this option if you want to allow customers to pay when they receive their items.
- Currency: Set your shop's primary currency (e.g., KES, USD).
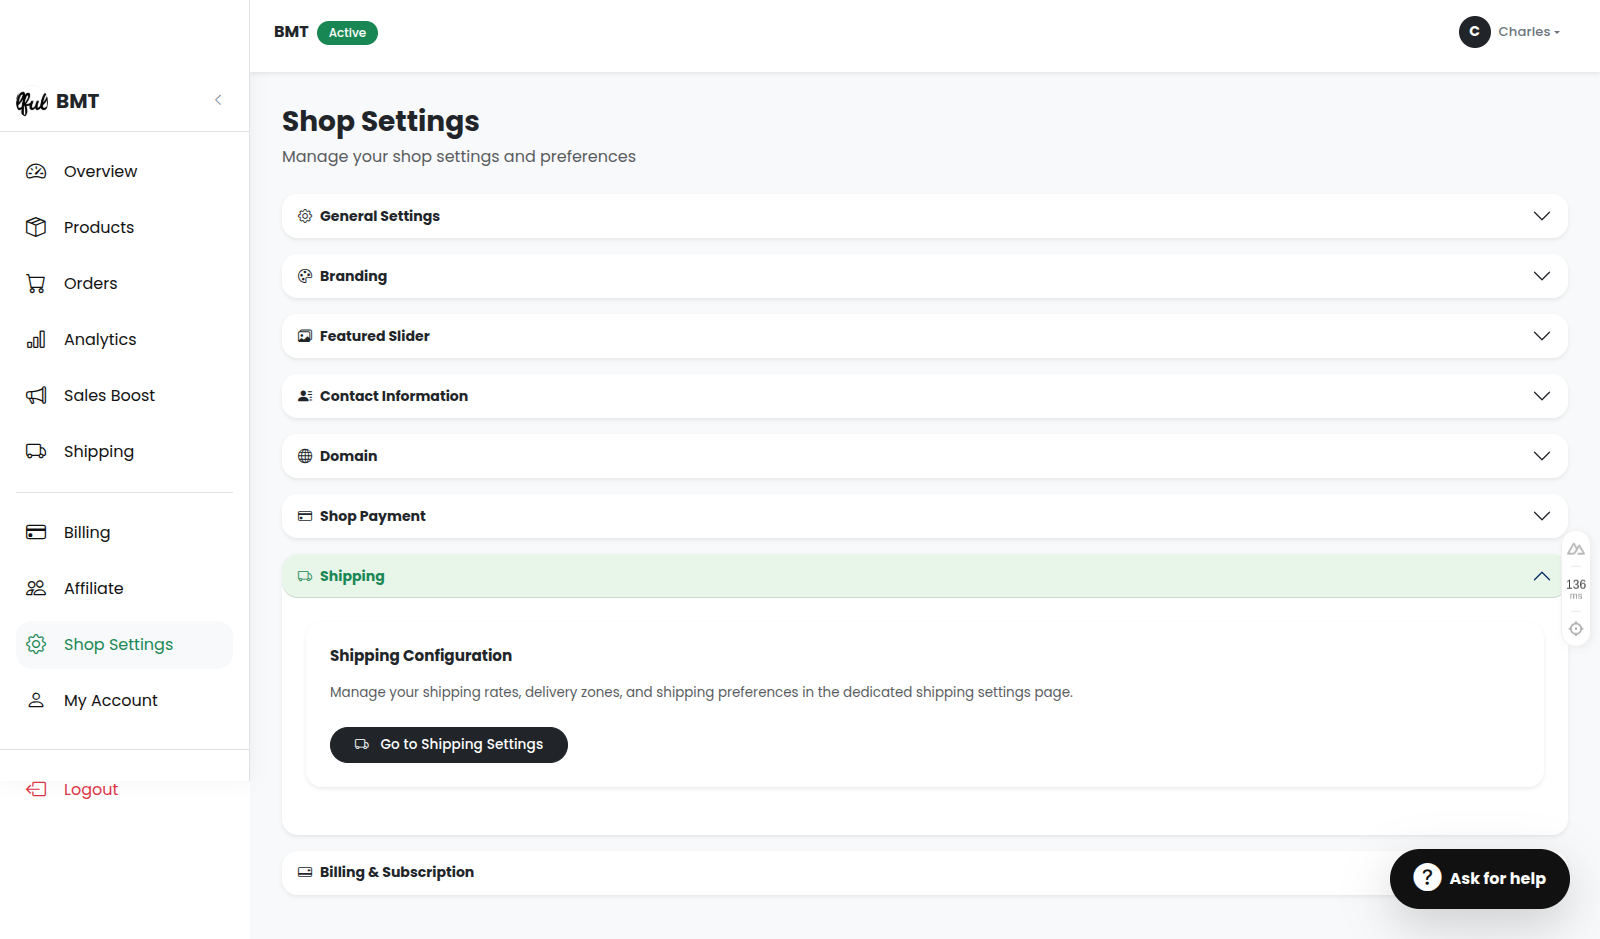
7. Shipping Configuration
Configure how much you charge for delivery based on location.
- Quickly jump to the dedicated Shipping Settings dashboard to manage advanced location-based rates, set up Pickup Mtaani, or define flat rates.