Onboarding & Getting Started
Welcome to Neomali! We've designed a quick, guided onboarding wizard that helps you completely set up your shop. Here is exactly what to expect from your first click to your fully configured dashboard.
Getting Started: Finding the Signup Page
To begin your journey with Neomali, you first need to navigate to our homepage and start the registration process.
- Go to the main Neomali homepage.
- Look for the "Start Selling for Free" or "Get Started" button and click it.
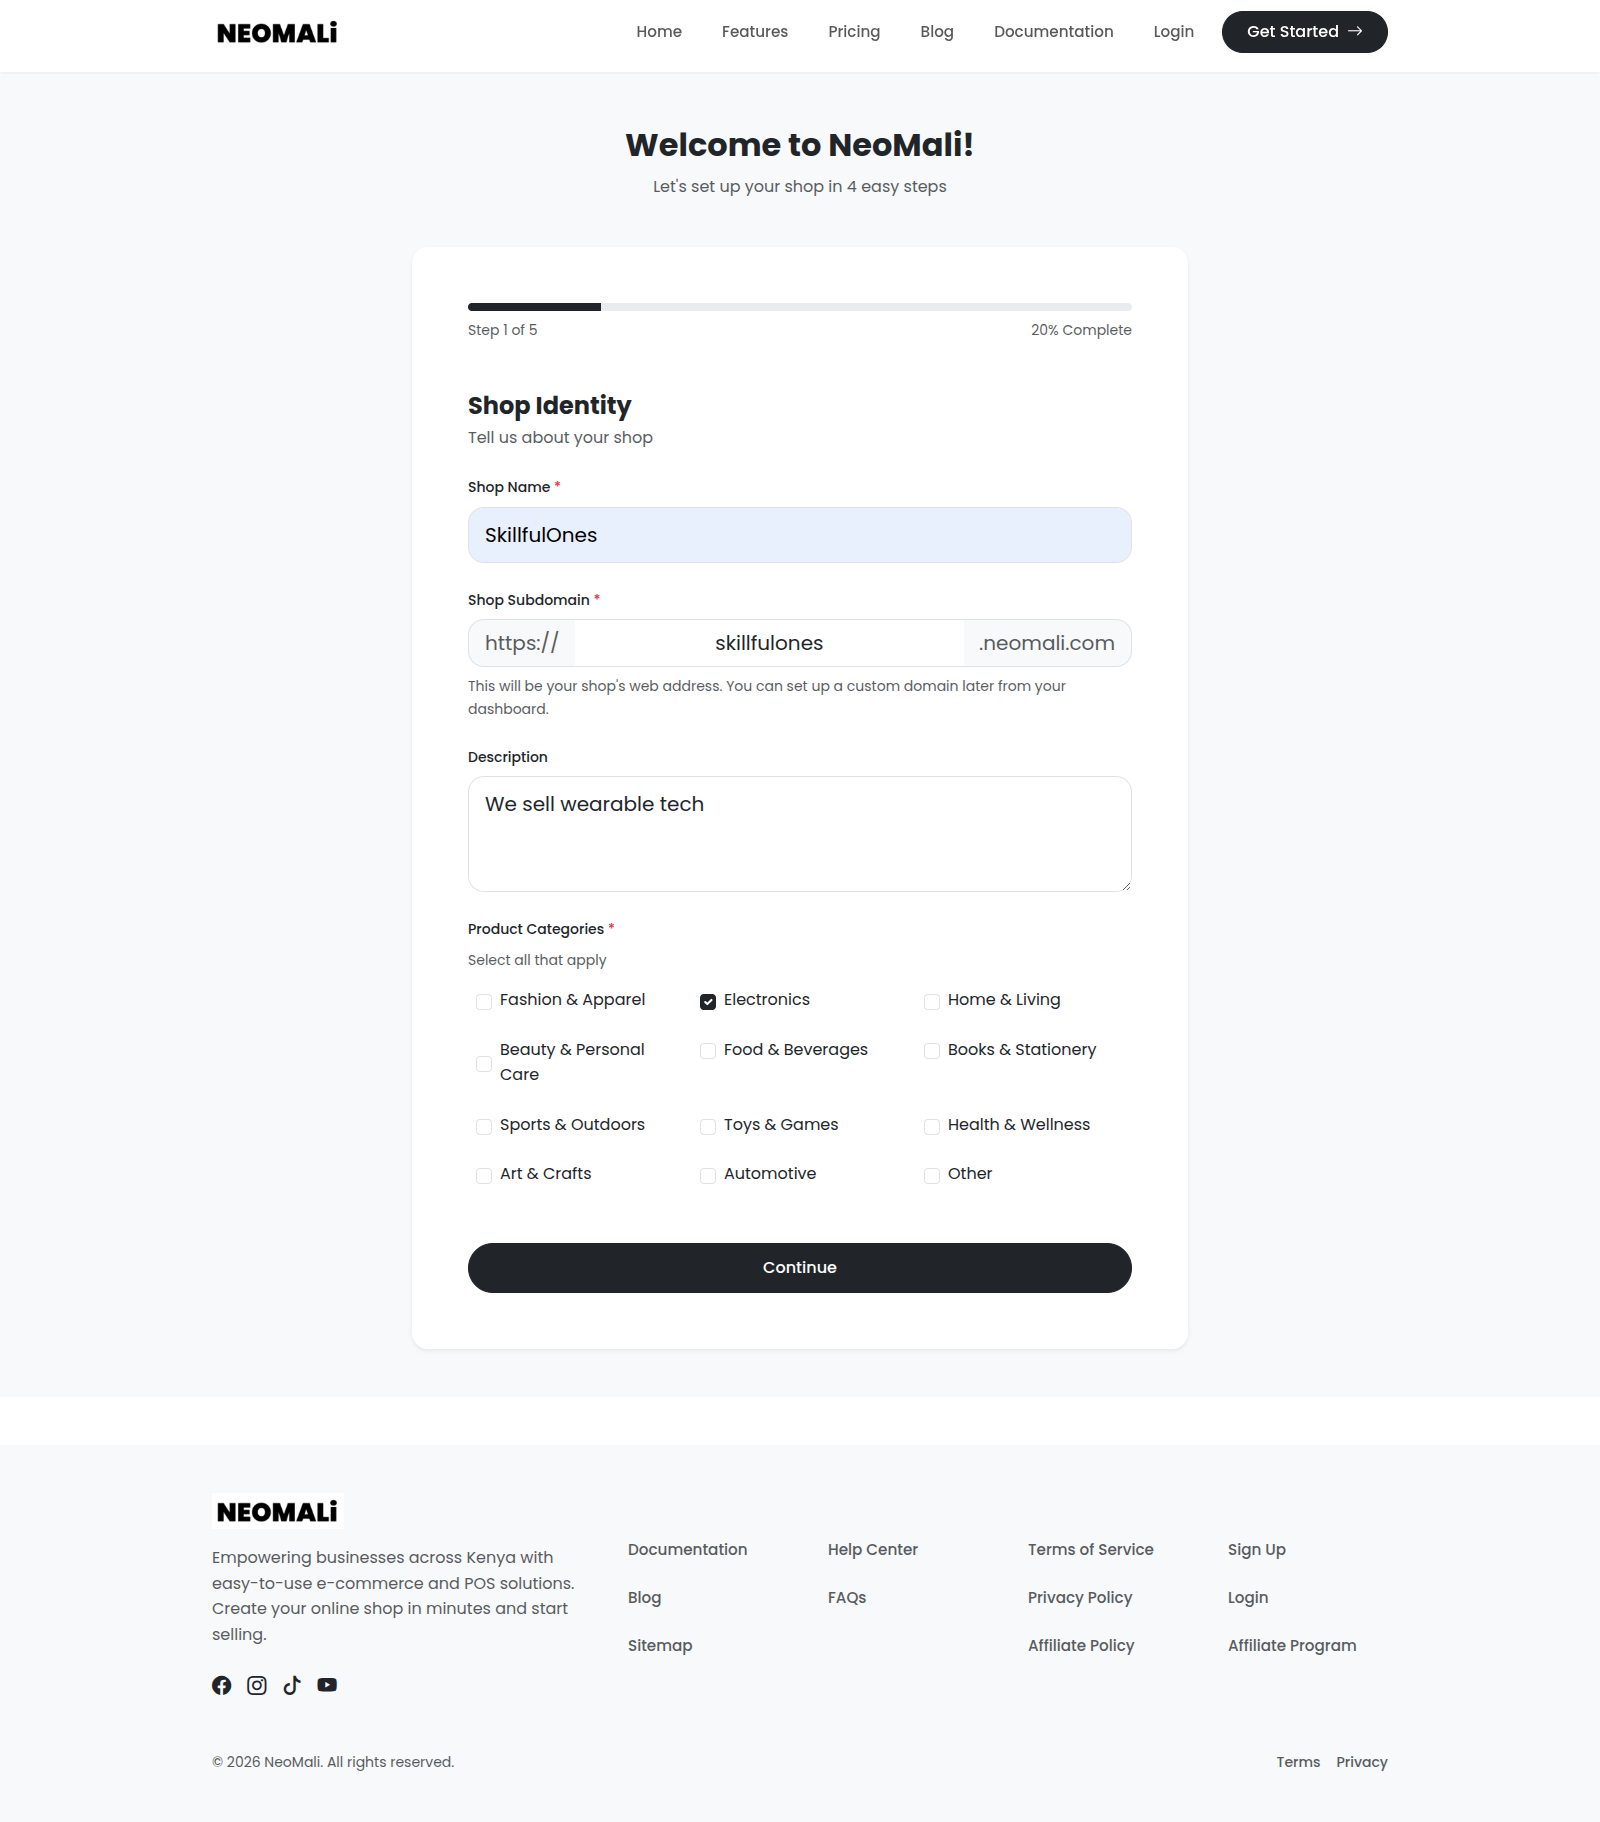
Step 1: Shop Identity
The first step in the wizard is establishing who you are and what you sell.
- Shop Name: Enter the name of your business (e.g., Nairobi Fashion Hub).
- Shop Subdomain: This automatically generates a web address for you (e.g.,
your-shop.neomali.com). You can customize this if you want a different link. - Description: Briefly describe your products to your customers.
- Product Categories: Select all the categories that apply to your business (e.g., Fashion, Electronics). If yours isn't listed, select "Other" and type it in!
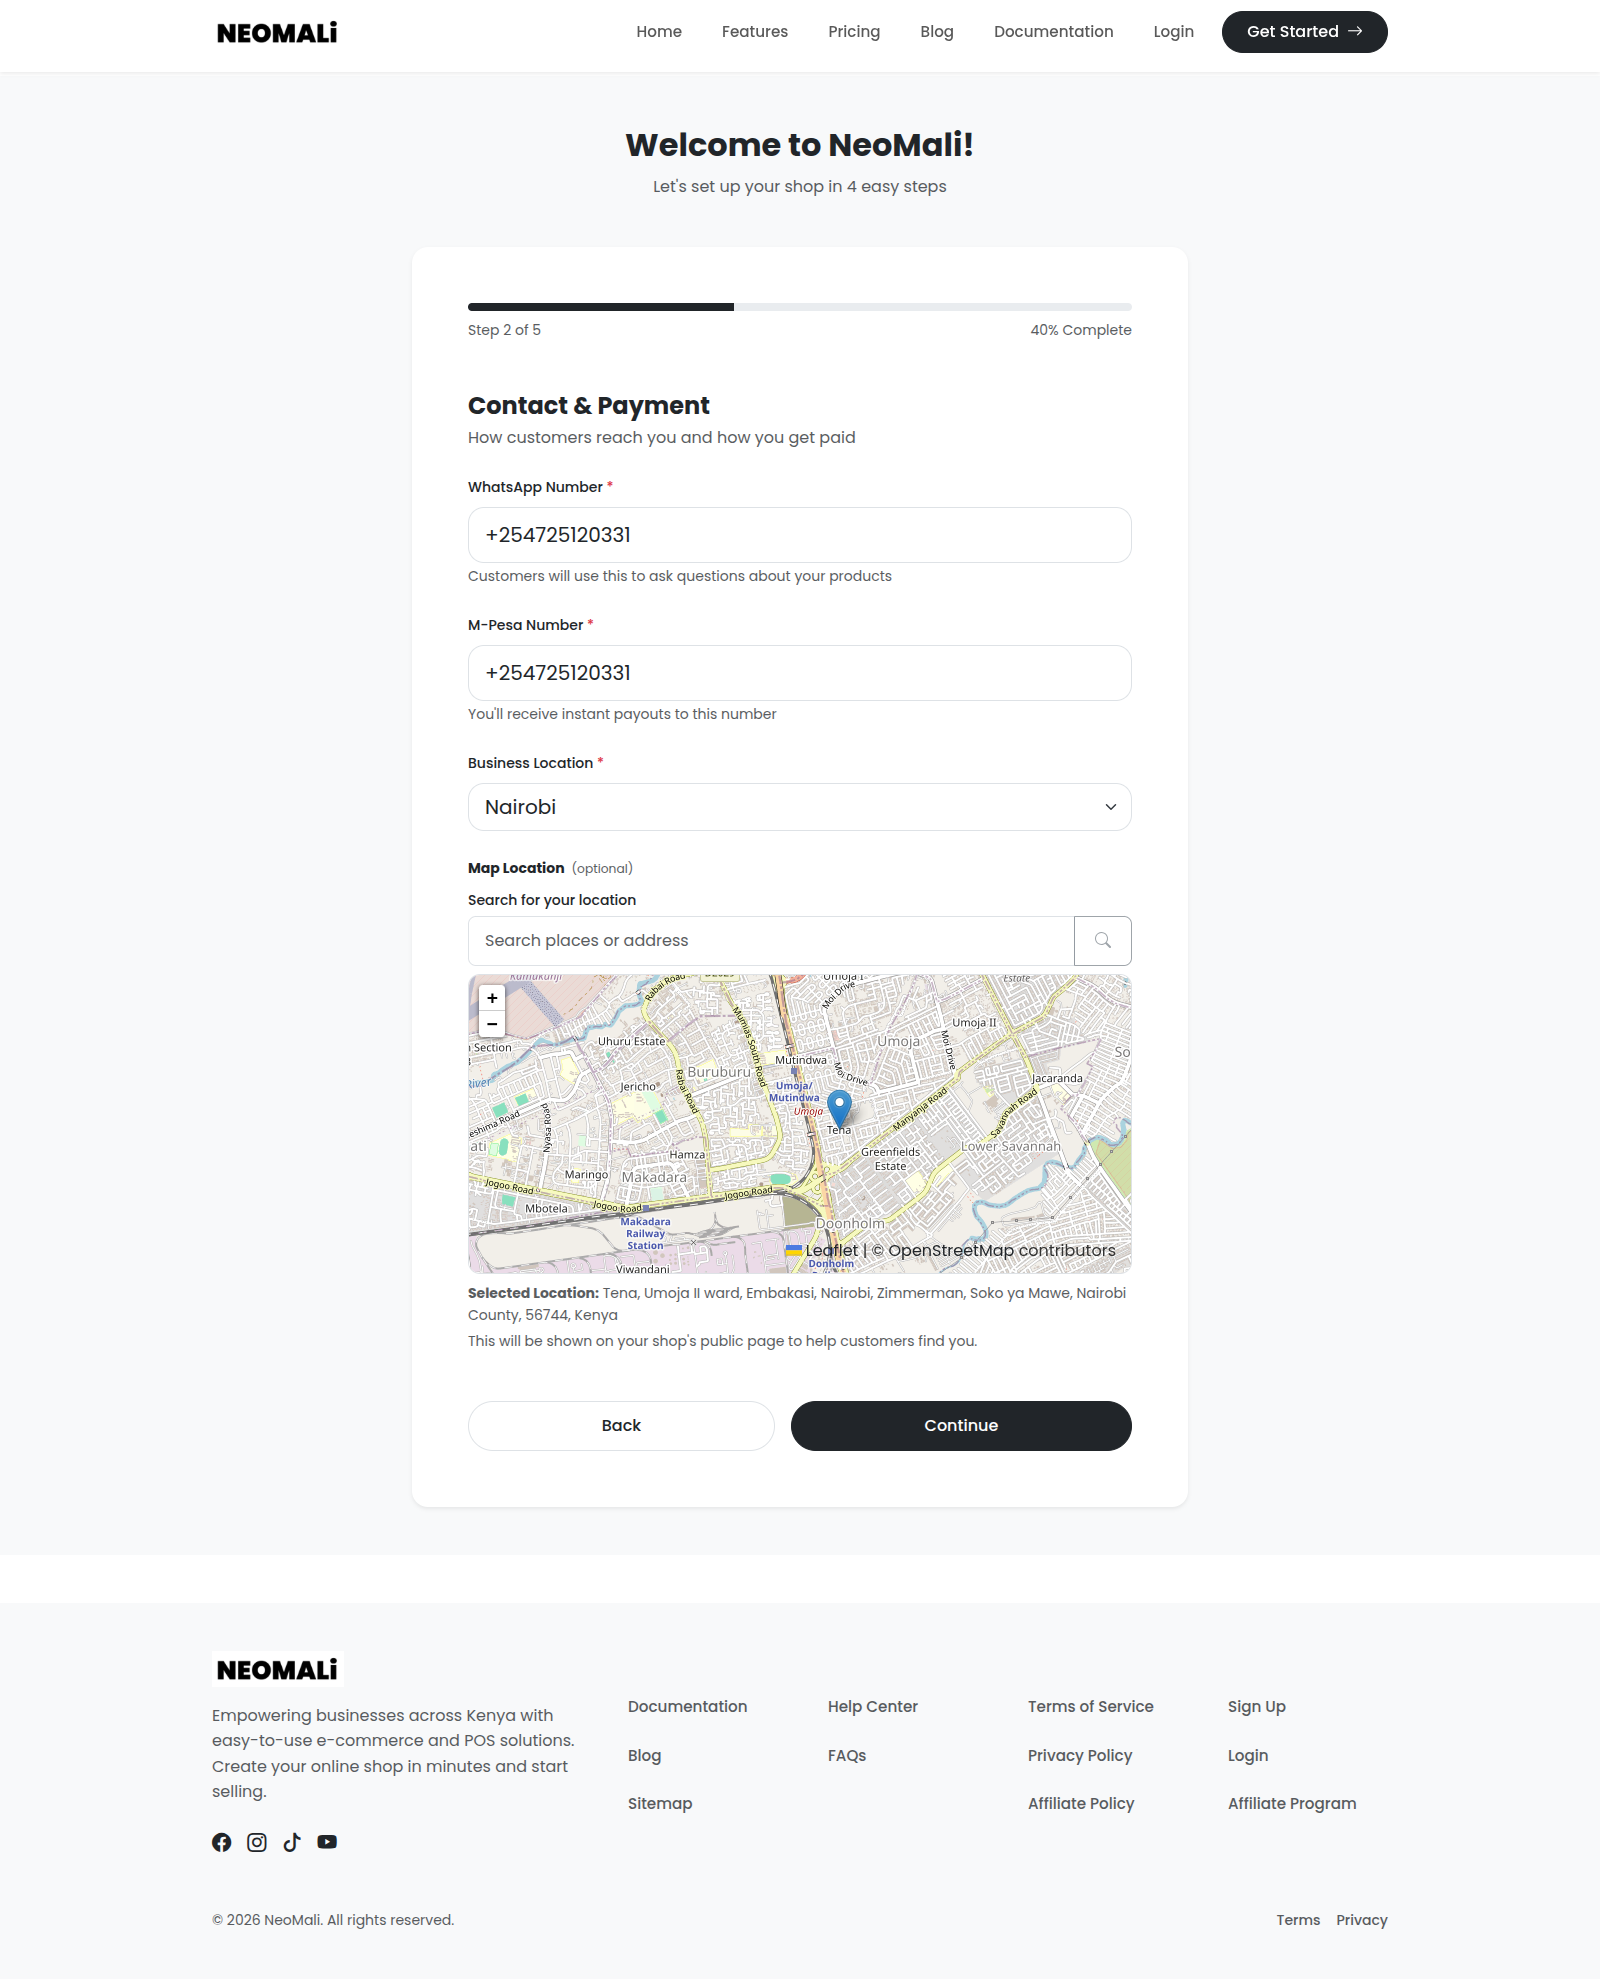
Step 2: Contact & Payment
Next, let's configure how customers contact you and how you get paid.
- WhatsApp Number: Enter the number customers will use to chat with you directly from your shop.
- M-Pesa Number: Enter your active M-Pesa number. This is where your funds will be sent instantly when a customer pays.
- Business Location: Select your primary region (e.g., Nairobi, Mombasa). You can also pin your exact location on a map to help customers find your physical store!
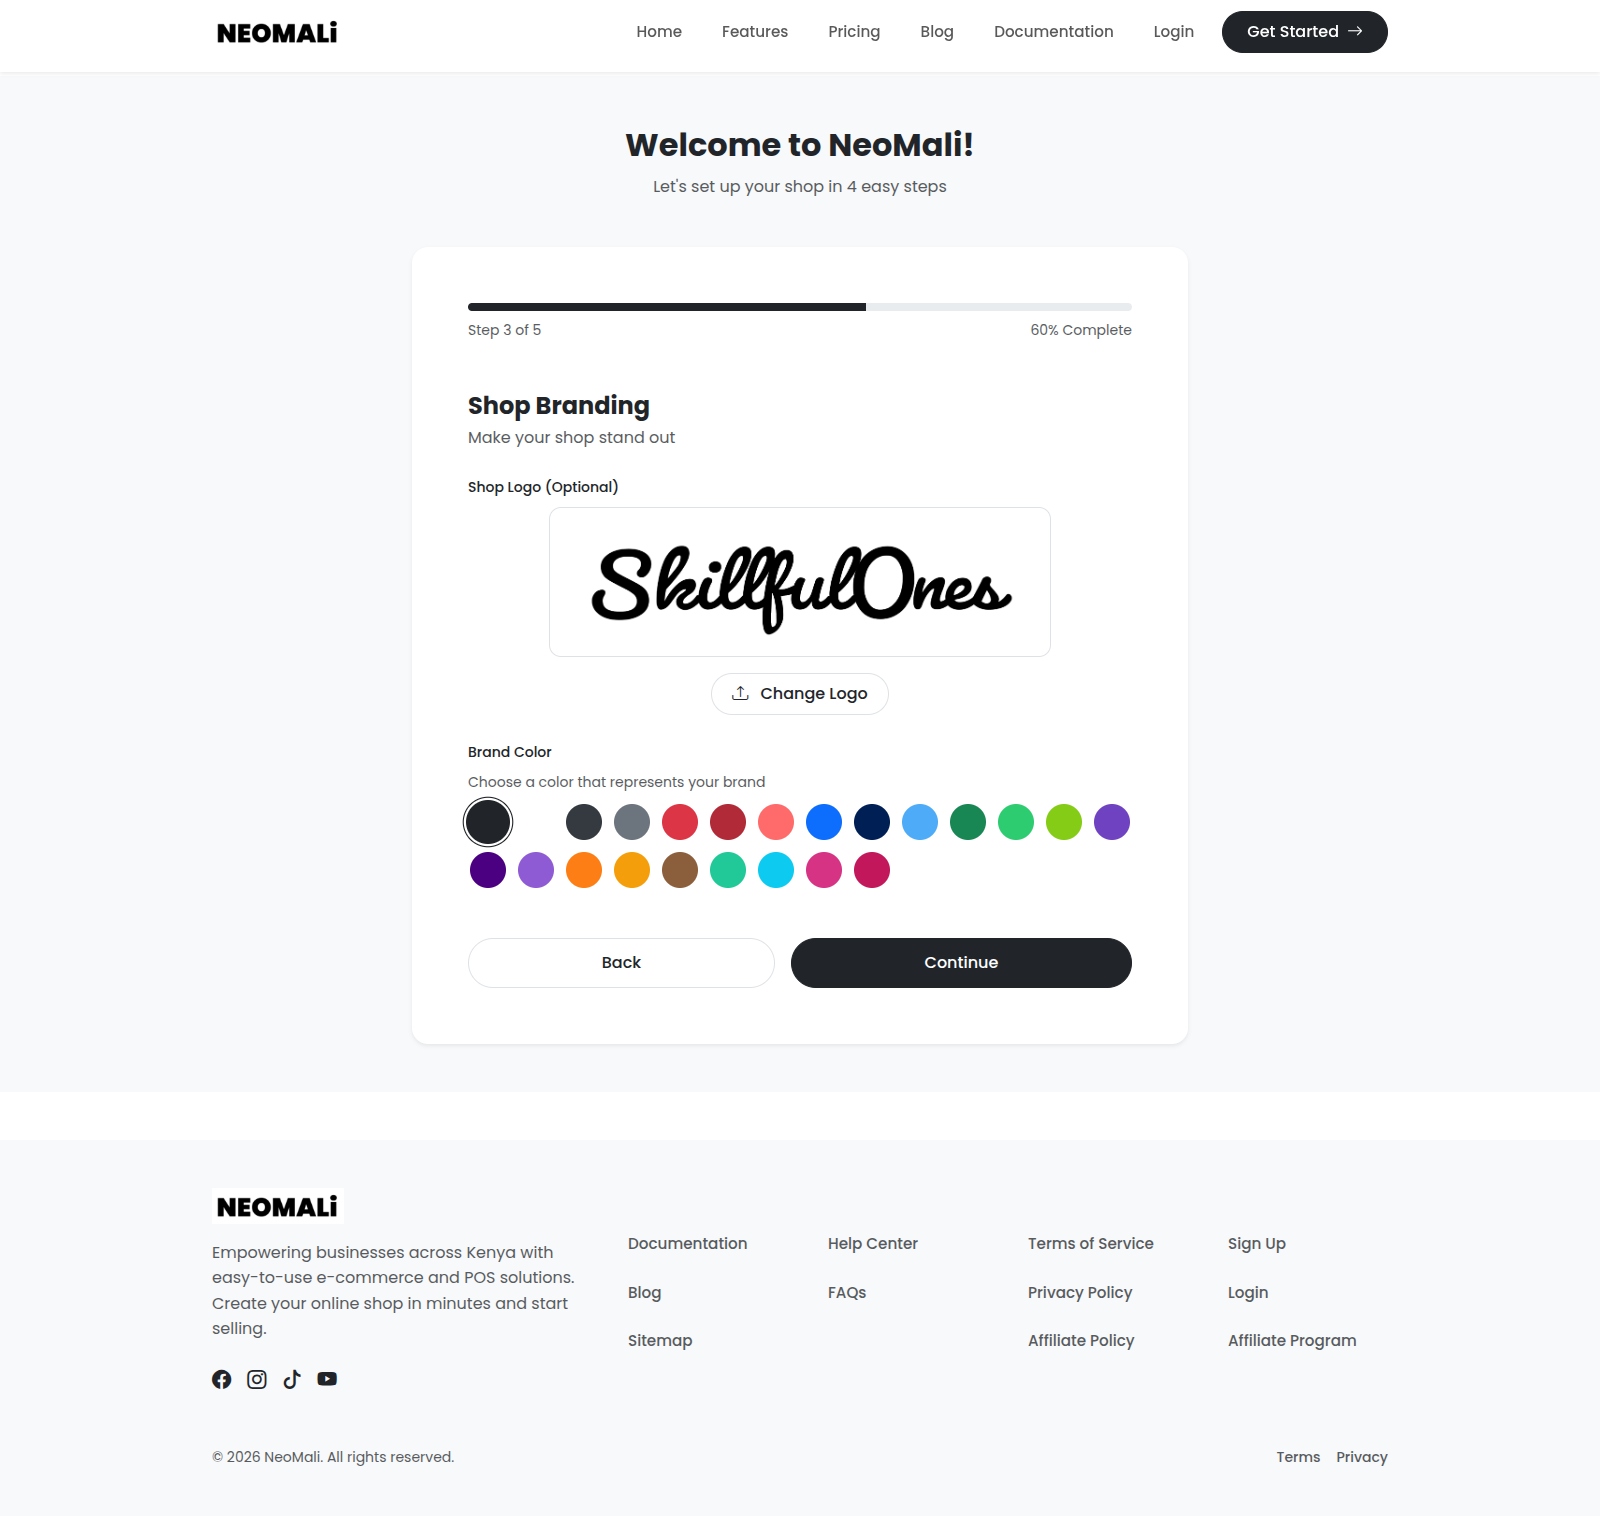
Step 3: Shop Branding
Make your store visually appealing.
- Shop Logo: Upload your business logo (we recommend a clear, square image).
- Brand Color: Select a primary color that matches your brand. This color will be used for buttons and accents across your storefront.
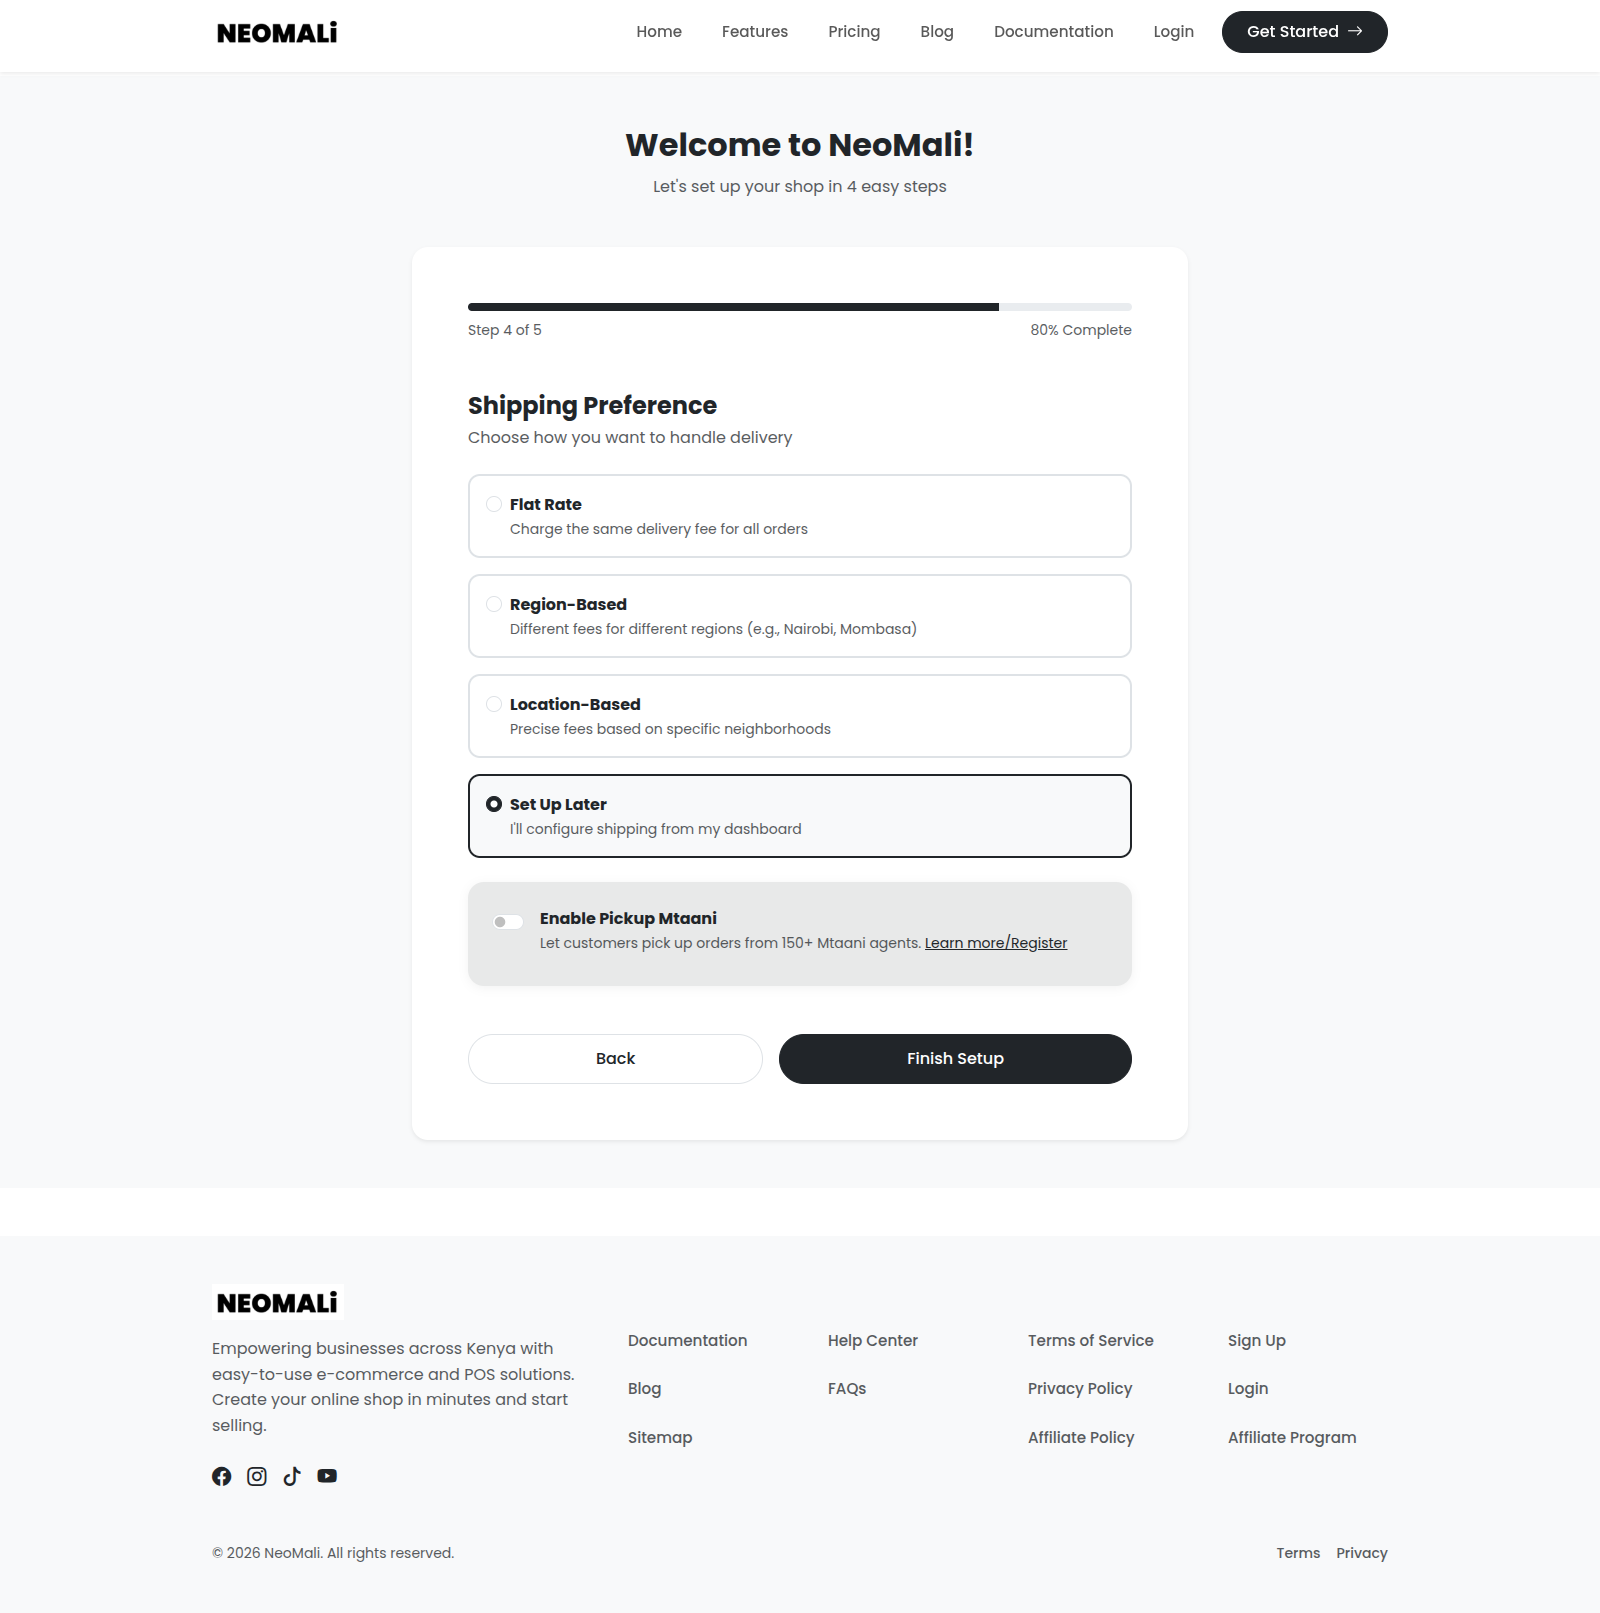
Step 4: Shipping Preference
How will you deliver your products? Neomali gives you full flexibility.
- Flat Rate: Charge a single, standard delivery fee for all orders regardless of location.
- Region-Based: Set different delivery fees for different counties.
- Location-Based: Set precise fees based on specific neighborhoods.
- Pickup Mtaani: Enable integration with Pickup Mtaani to let your customers pick up their orders from over 150 agents. You can add your API keys right here or configure them later!
- Set Up Later: Skip this step and configure shipping from your dashboard once you're settled.
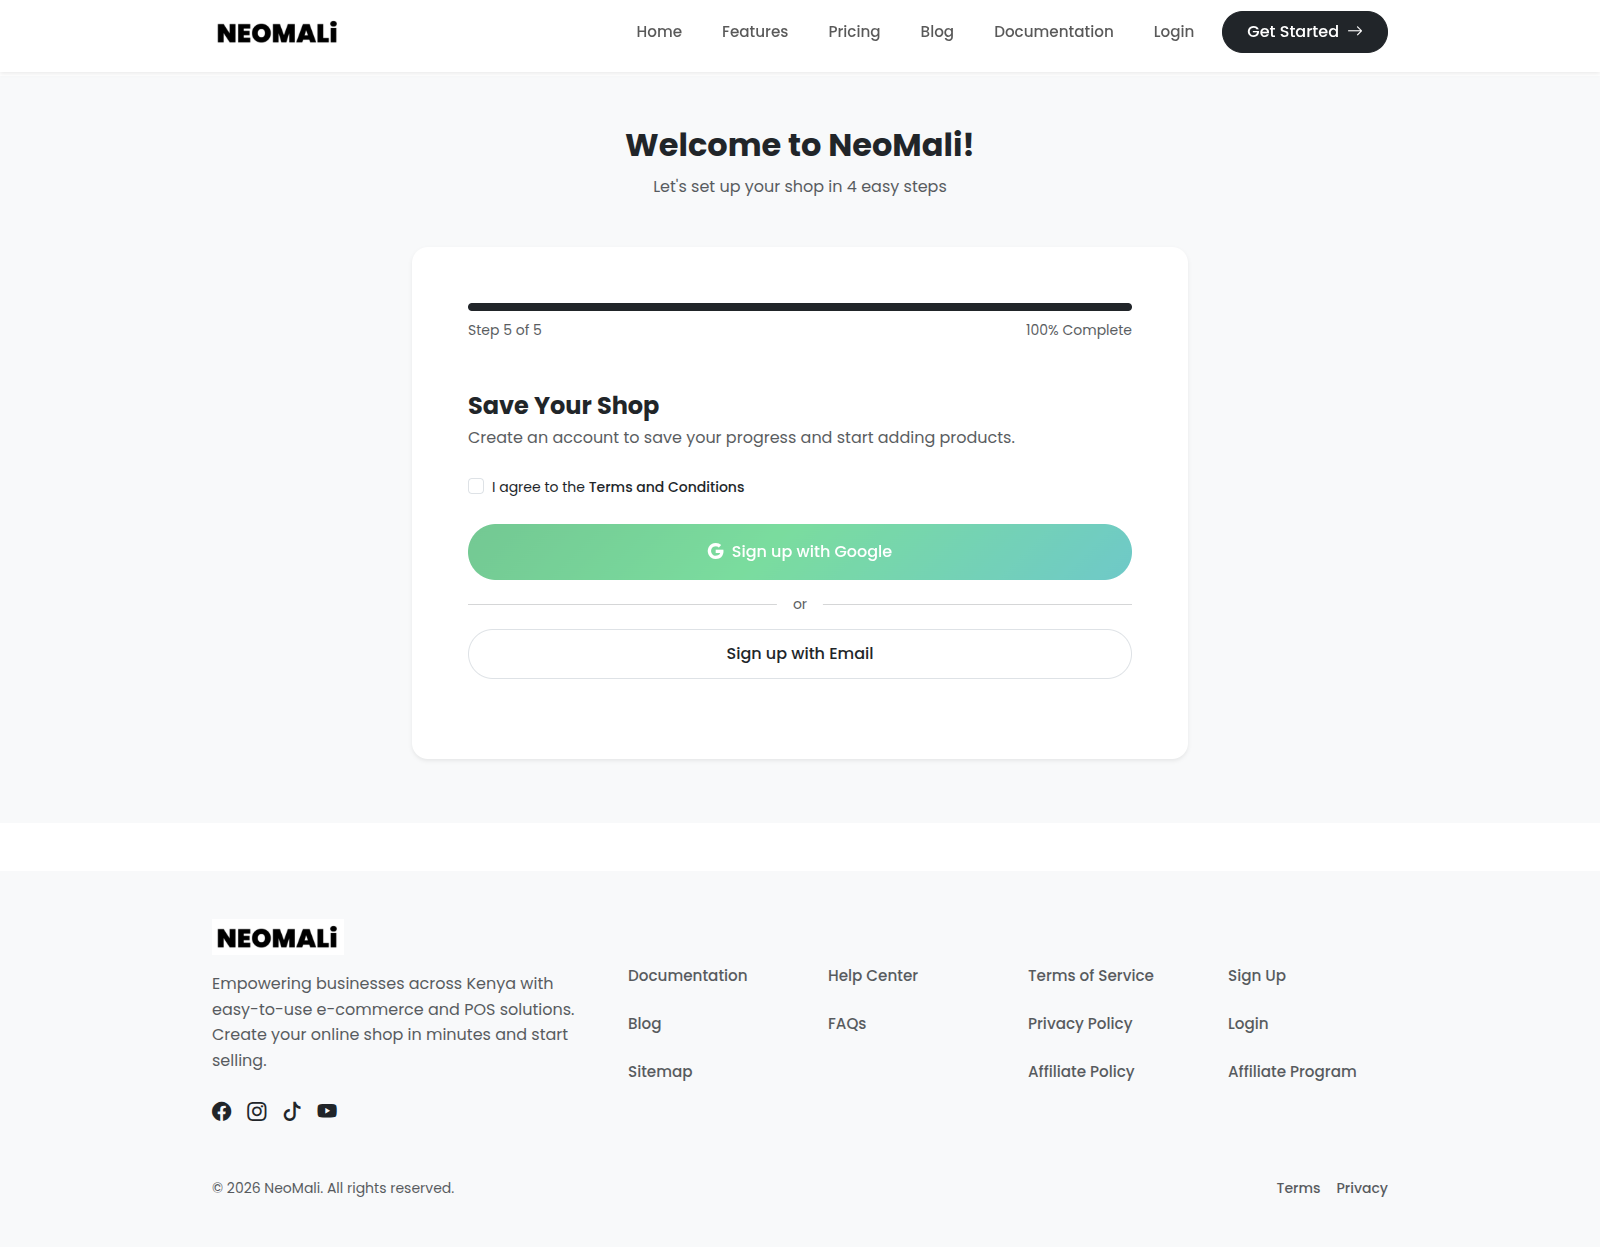
Step 5: Creating Your Account
Next, you will be taken to the registration page. This is where you create your Neomali account to secure your shop.
- Fill in your personal details (Name, Email, and Password).
- Alternatively, use the quick login options like Google to speed up the process.
- Once registered, the onboarding wizard will immediately start to help you set up your storefront.
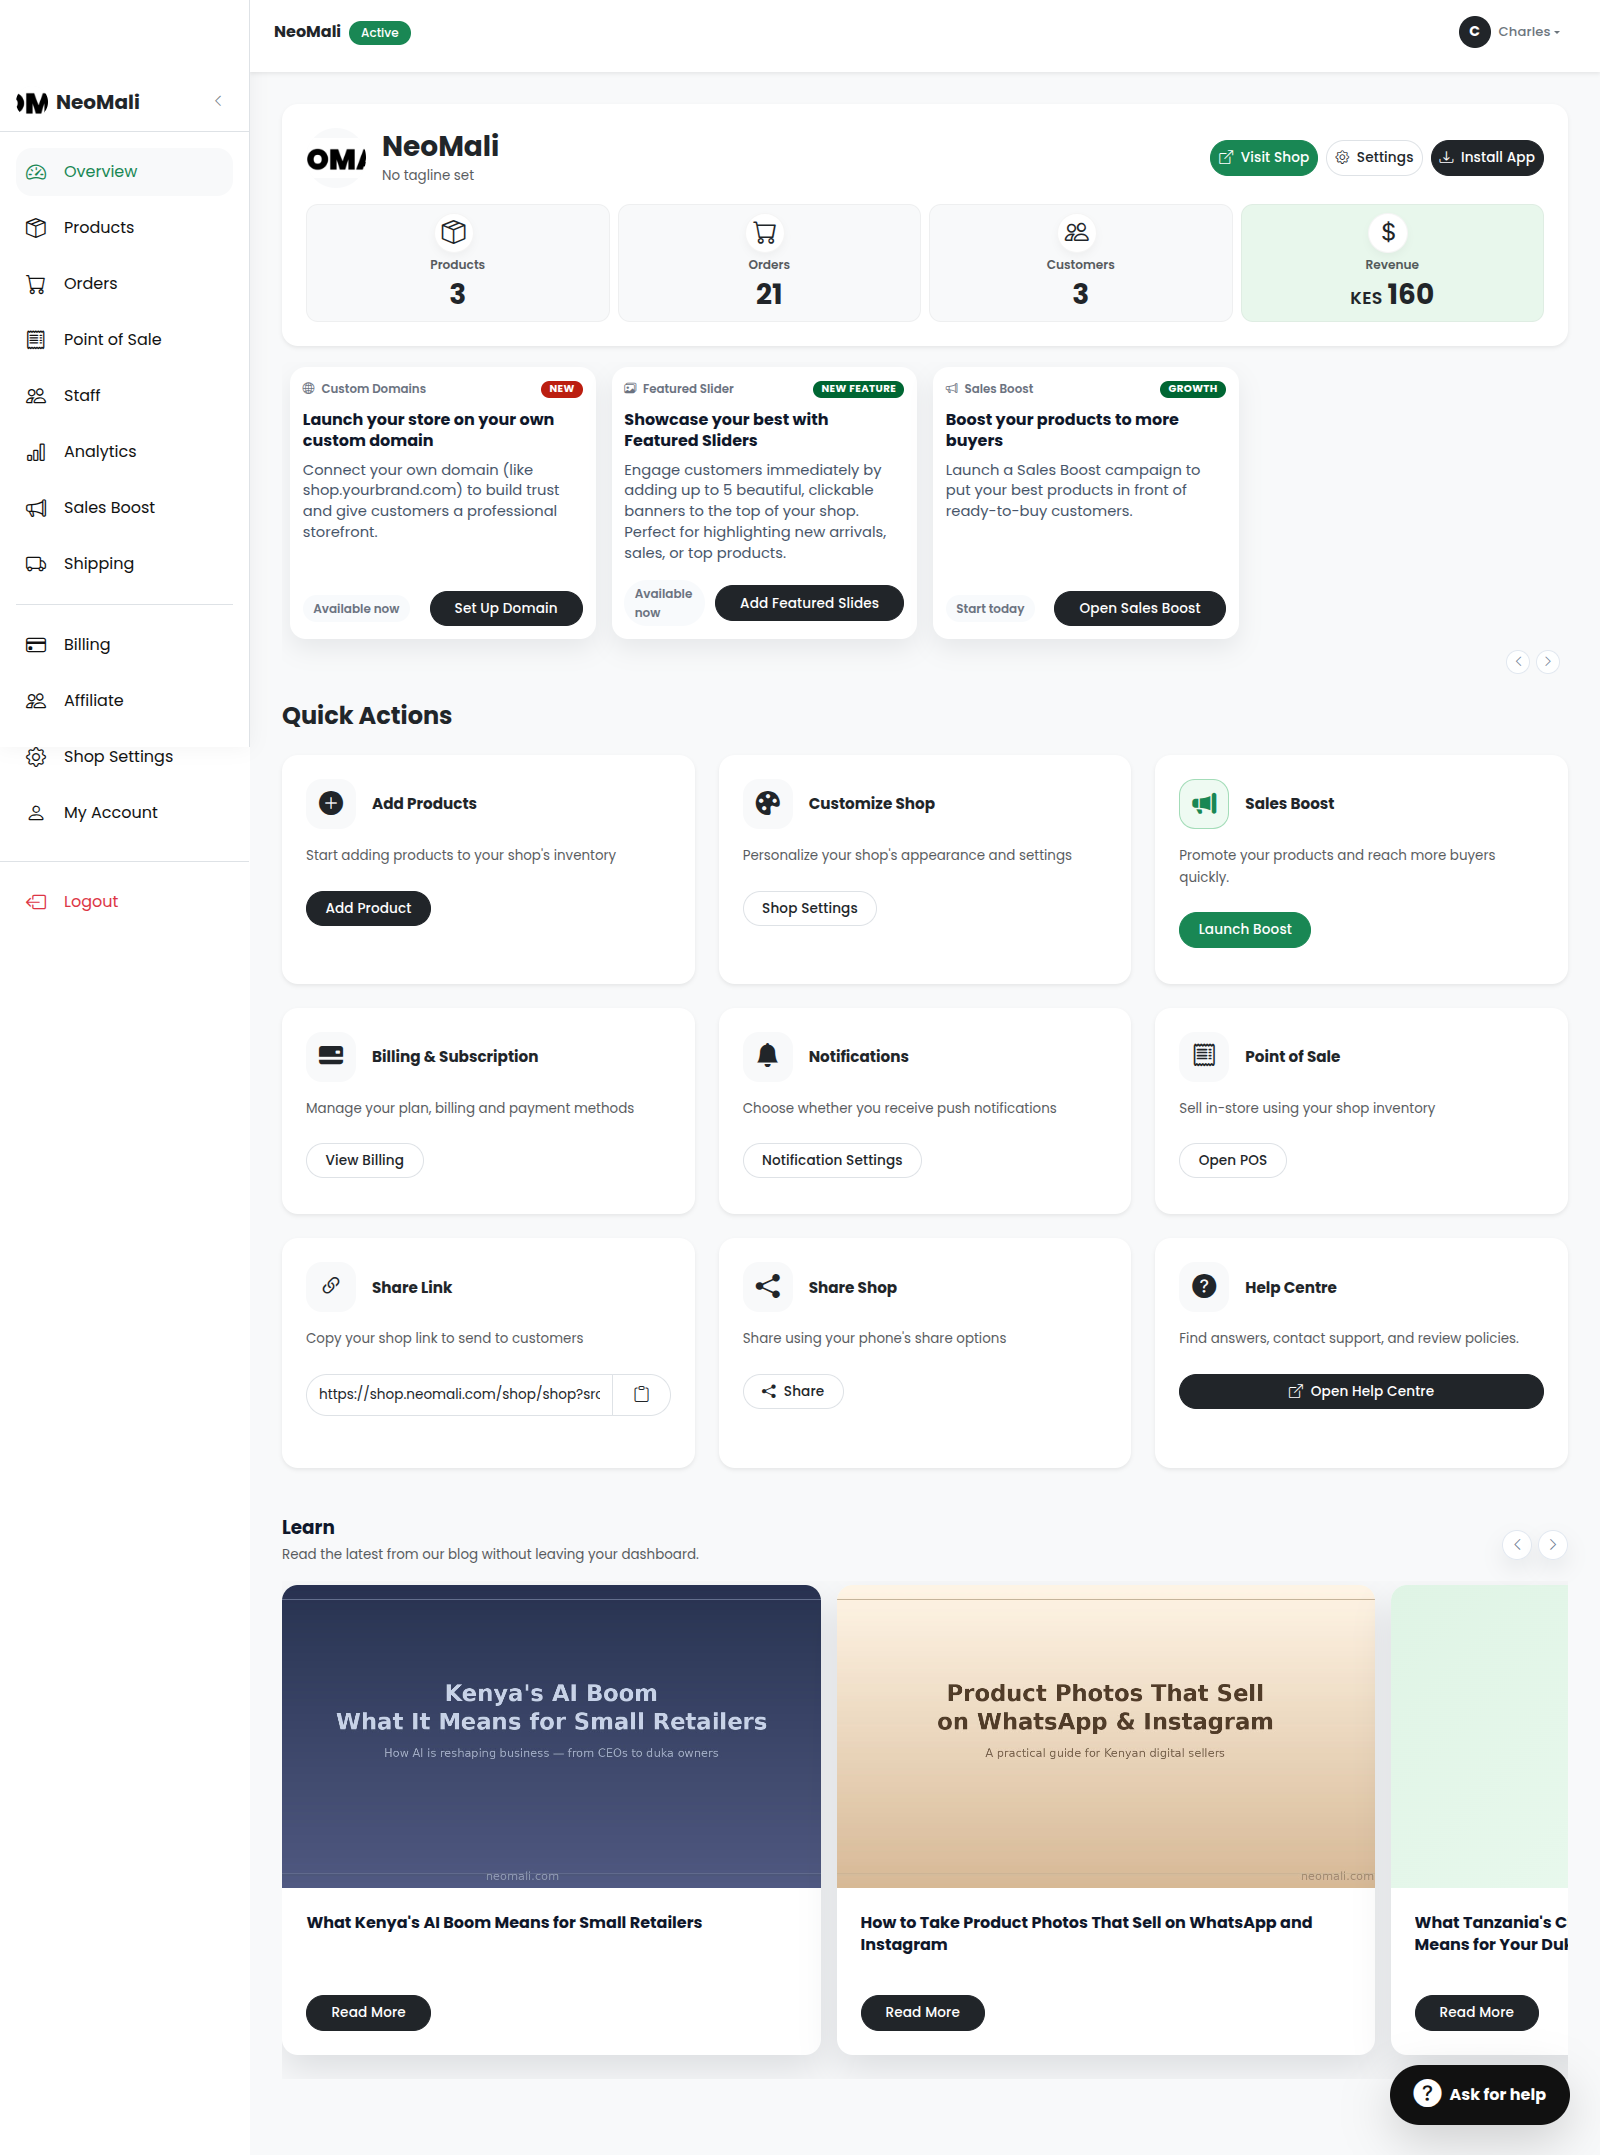
Welcome to Your Dashboard!
Congratulations! Your digital storefront is completely configured. After completing the wizard, you will land on your Neomali Dashboard.
- The dashboard is your control center for managing products, tracking orders, and viewing analytics.
- You can return to any of your onboarding settings (like shipping or branding) later through the dashboard settings menu.